
Both traditional and power recliners come with controls on the right side. But how do you adjust a recliner if you get right arm surgery?
Adapting a recliner for right arm surgery is much easier than you’d think. In this post, I guide you through how to adapt a recliner for right arm surgery.
How to Adapt a Recliner for Right Arm Surgery
How to Adapt a Power Recliner
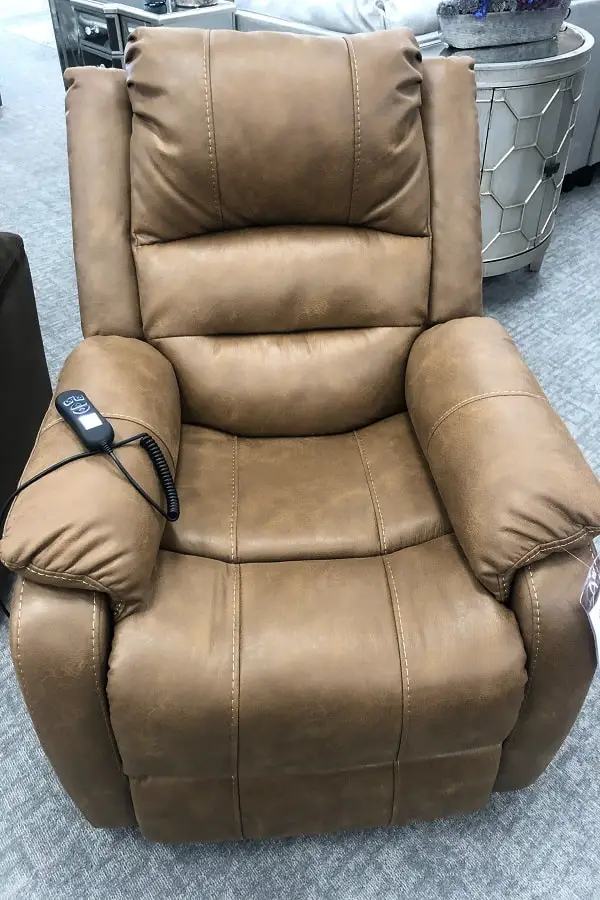
Power recliners are modern-day versions of traditional recliners that provide many additional features. But as the name suggests, they use electricity to operate.
Every feature of a power recliner can be controlled using the buttons on the right side of the recliner. The buttons are the trigger point of contact for internal circuitry. To adapt a power chair for right arm surgery you’ll need the following:
Materials Required
- Wires
- A breadboard / Veroboard
- Double side tape
- Plastic tape
Tools Required
- Soldering iron and soldering wire
- Wire stripper
- Hack-saw (optional)
- Measuring tape
Step #1: Remove the Connections
Ensure all power connections are turned off and the batteries removed. This is essential for the safety of the person operating.
Remove the buttons that are connected on the right side of the armrest. Be careful to do this gently and without removing the marks on the buttons.
Place the buttons carefully, and do not misplace or lose them. Remember the functionality of each button. Write it down if necessary.
Step #2: Get the Wires Ready
Measure the length of the sitting space of the recliner. You must decide the wire length required to shift the controls to the other side.
Cut wire of the required length using the wire strippers. Do not use your teeth or other instruments to avoid imperfections. Strip off some insulating sections of the wire on either end.
Step #3 Soldering the Wires
Connect the soldering iron to a power supply to start heating it.
Once the iron is hot enough, solder one end of the wire to the circuitry below the exposed button. Make sure to use different colored wires for different buttons.
Solder the other end of the wire to the Veroboard. Make sure to connect properly and not short two wires while soldering.
Step #4: Complete the Circuit
Take some more wires to connect them to the removed buttons. Use both side tapes to affix the button on the Veroboard after making the connections.
Connect two wires from the Veroboard to the battery pack to power the board and, subsequently, to the buttons.
Cover the unused exposed portions of the wires on either end with plastic tape. This is a precaution taken to avoid any short circuit or malfunction.
Step #5: Attach the Veroboard
Cut the unused portion of the Veroboard using a hacksaw to be more compact. You can use a breadboard in place of a Veroboard.
Fix the compact Veroboard with the help of double-sided tape, on the left-hand side of the recliner, at a comfortable height for the user.
Switch the power connection, and check if the circuit works properly. Once your right arm returns to normal, you can remove the Veroboard and reconnect the buttons to the exposed circuit on the right-hand side.
Step #6: Adapting the USB Port (Optional)
Most power recliners come with a USB port, which lets you charge your phone or other electronic devices while using the recliner. When you wish to make it adaptable for use with your left hand, you can decide to do two things.
Since changing the USB port is more difficult than other buttons, you can keep the USB unaltered. Just charge your devices before using the recliner. In case you want to shift your USB port as well, take good care to remove the port with care. The USB port usually has three internal wires.
Connect them properly to the Veroboard, following all precautions as mentioned above.
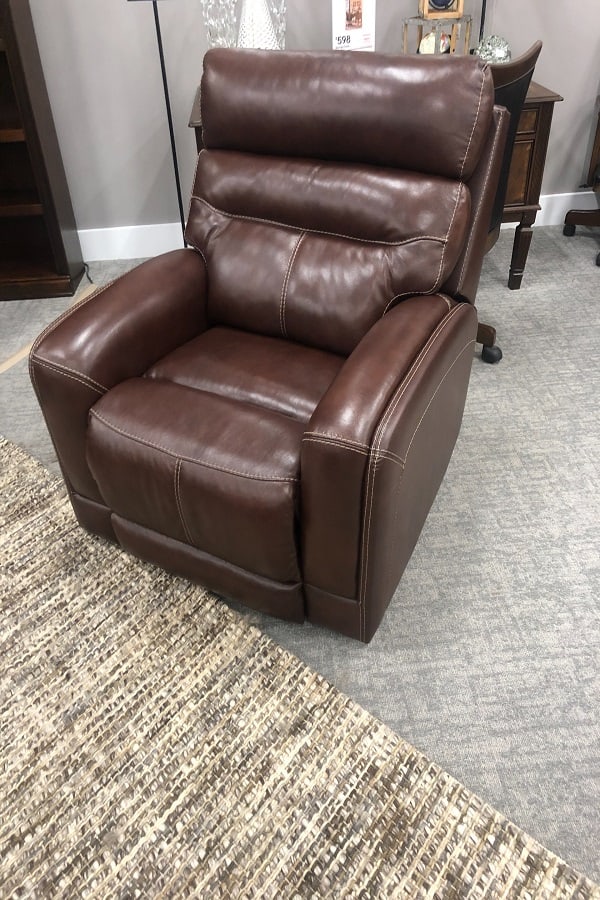
How to Adapt a Traditional Recliner
Adapting traditional recliners for right arm surgery requires more manual effort. Its rear mechanism must be pushed into position by applying much force.
However, the footrest is operated by locking levers, whose manual control is on the right side of the recliner. Adapting a traditional recliner with only your left hand is next to impossible, so ensure you have someone to help.
Materials Required
- Duct Tape
- PVC Pipes
- Screws & Nuts
- Cloth of appropriate color (optional)
Tools Required
- Screw Driver
- Drilling Machine
- Scissors
- Measuring Tape
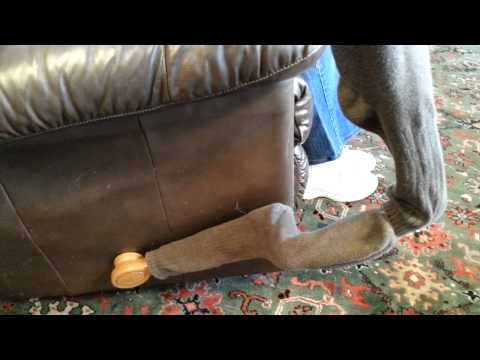
Step #1: Estimate Required PVC
Measure the length of the lever and the armrest height and determine the length of PVC pipes required.
Cover the lever with a PVC pipe of appropriate length. Use Duct Tape for the attachment to remove it when no longer needed easily.
Attach a small PVC of appropriate length to the covering PVC. It should extend beyond the armrests’ extension.
Step #2: Drill and Attach
Drill the PVC and affix it with the help of screws and nuts. Use long PVC to attach with the small extension to reach sufficient height. Then, attach this part using screws.
Attach another pipe to the top of the PVC to use it as a handle. Make all these attachments using screws and nuts.
Step#3: Rotate and Check
When this arrangement is complete, you can rotate the handle with your left arm to effectively rotate the lever controlling the footrest. Rotate the handle to lift or lower the footrest until you reach a comfortable position.
Step #4: Take Care of Aesthetics
You can cover this arrangement with a cloth or cover of an appropriate color so it doesn’t look shabby.
It is advisable to use some extra clothing of a similar color, as it is only a temporary solution.
Step# 5: Protect your arm while using
Use your body weight to push the rear part back, and you will be in your desired comfortable position.
While pushing the rear part back, take good care of your injured arm. Ensure that any recoil from the recliner does not damage your arm.
Once your right arm returns to normal, you can easily remove the duct tape and use the locking lever to operate your recliner.
This video guide will help you understand the procedure better.
Frequently Asked Questions
Is It Possible to Get Left-Controlled Recliners?
No manufacturer produces recliners with controls on the left arm side. However, you can get customized recliners by placing special orders to the manufacturer. It takes about 4-6 weeks to deliver it to your place.
Is It Expensive to Adapt Recliners for Right Arm Surgery?
Recliners can be made adaptable for right arm surgery or shoulder surgery and is not expensive and simple. While power recliners need more electronic replacements, traditional recliners require a more mechanical approach.
Is It Safe to Use a Recliner With the Right Arm Fractured?
Recliners are designed to give you the maximum possible comfort. It is safe to use a recliner with your right arm fractured; however, it can be tedious if you don’t shift the loose recliner arm control or make it adaptable for use with your left arm.
Does Adapting a Loose Recliner Arm Involve Making Permanent Changes to It?
Adapting a recliner for right arm surgery or shoulder surgery involves making temporary and straightforward additions to your recliner. Once your right hand has recovered, you just need to remove the extra circuitry or hardware, to get the recliner in its original form.
Conclusion
Unlike an office chair, Recliners are specially designed to give you the maximum possible comfort. Research shows that a 135-degree angle is biomechanically the best resting position. Naturally, you will use it when you are injured and stressed. However, an injury in the right hand can make utilizing the recliner difficult.
With this recliner for right arm guide handy, you should be able to make easy tweaks to your recliner to make it much easier to use with your left arm.