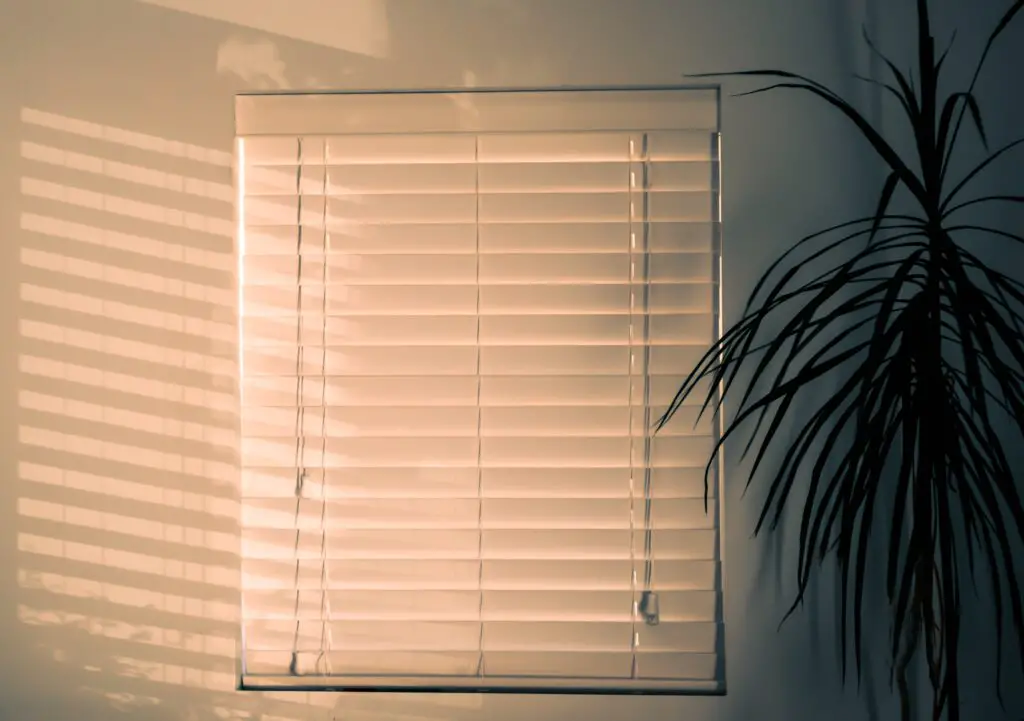
What follows once you buy your Allen and Roth faux wood blind? Of course, you need to install it. However, you may not know how to go about it. Fortunately, this guide is about how to install Allen and Roth faux wood blinds.
How to Install Allen and Roth Faux Wood Blinds
When installing Allen and Roth faux wood blinds, you can choose inside or outside mount. Both are easy to handle with a little alertness. Either way, follow these steps:
Step #1: Position the Flush Of the Mounting Hardware
- Position it against the top of your window well or frame.
- Ensure that the headrail is far much at the back to avoid a scenario whereby blinds stick out relatively far from the wall.
- At the same time, it shouldn’t be too far behind to the extent that they hit the window if it is tilted open.
In case of the presence of valance, set your blinds slightly back so as they accommodate the extra.

Step #2: Use a Leveler
- Its role is to see to it that the positioning is as straight as possible.
- Then, use a pencil to mark those edges.
- Take the brackets and align them with the marked pencil marks before marking new screws’ holes.
Step #3: Create the Holes
- Use a drill bit to make the holes for the screws.
- Alternatively, use a hammer and a nail to create those holes.
If you use the nail, ensure that its thickness is small than that of the screws. Otherwise, the holes will turn out too big to fit the screws.
Step #4: Insert Screws
Before you do that, ensure that you align each bracket with its respective pencil mark.
Then, insert each screw into the wall using a power drill or a screwdriver.
Step #5: Install Valance Clips
- This only applies if the blinds come with them.
- If so, attach the valance clips to the headrail before mounting.
Again, spacing is vital lest they interfere with the various mechanisms.
Step #6: Slide Headrails Into Brackets
It would be best if you closed your bracket covers and only stop once they snap into their rightful place.
Once that happens, you can rest assured that the blinds are secure in the brackets and don’t move around.
Step #7: Snap the Valance
Snap them into the pre-installed clips before adjusting them, if necessary.
Step #8: Test the New Blinds
You can try out a few things, such as raising then lowering them slowly to adjust you desirable lighting. Finally, tilt the slats on either side while the blinds are fully extended. You can also snap a shot from a distance with a budget-friendly DSLR camera to properly view whether the blinds are aligned correctly.
Here’s a guide that will simplify installing faux wood blinds.
Frequently Asked Questions
Should I Settle For 2 Inches or 2.5-Inch Faux Wood Blind?
As much as the only difference is 0.5 inches, it means a lot when dealing with blinds. If the two were to be opened, the 2.5 inches would let more light enter than in the case of the 2 inches.
Their view of the outside world will always surpass that of its 2-inch counterpart.
Should I Choose Darker or Lighter Blinds?
You should always ensure that regardless of the shade or blind that you take home, it is at least one shade darker or lighter than the walls. The slight difference ensures that they blend.
For smaller rooms, go for lighter shades and vice versa. Darker blinds add coziness and depth to a room, whereas lighter shades reduce the probability of clashing with your home décor, brightens your room, and softens its windows.

What Is the Recommended Difference Between the Sizes of the Window and Blinds?
The blinds must overlap the window to ensure that little or no light leaks. It should be one and a half inches on both sides, amounting to 3 inches on the entire width in case of an outside mount.
Conclusion
Make your rooms stylish with Allen and Roth faux wood blinds. Aside from style, maybe it would also improve the outdoor perspective. My guide will ensure that you install them correctly for great results. Having blinds in your house can be pretty convenient to have, especially in summer months when the humidity level feels muggy and stiff.
For instance, they are affordable, moisture resistant, easy to clean, and visually appealing, which is exhibited to their patio furniture. From environmentally friendly to recyclable and various colors to different varieties, they are incredible. Additionally, they are durable and long-lasting if you take proper care and maintenance.


